In the empennage builders get their first taste of fabricating parts. These include attach brackets used in the horizontal stab and some shims used when attaching the horizontal stab to the tail cone.

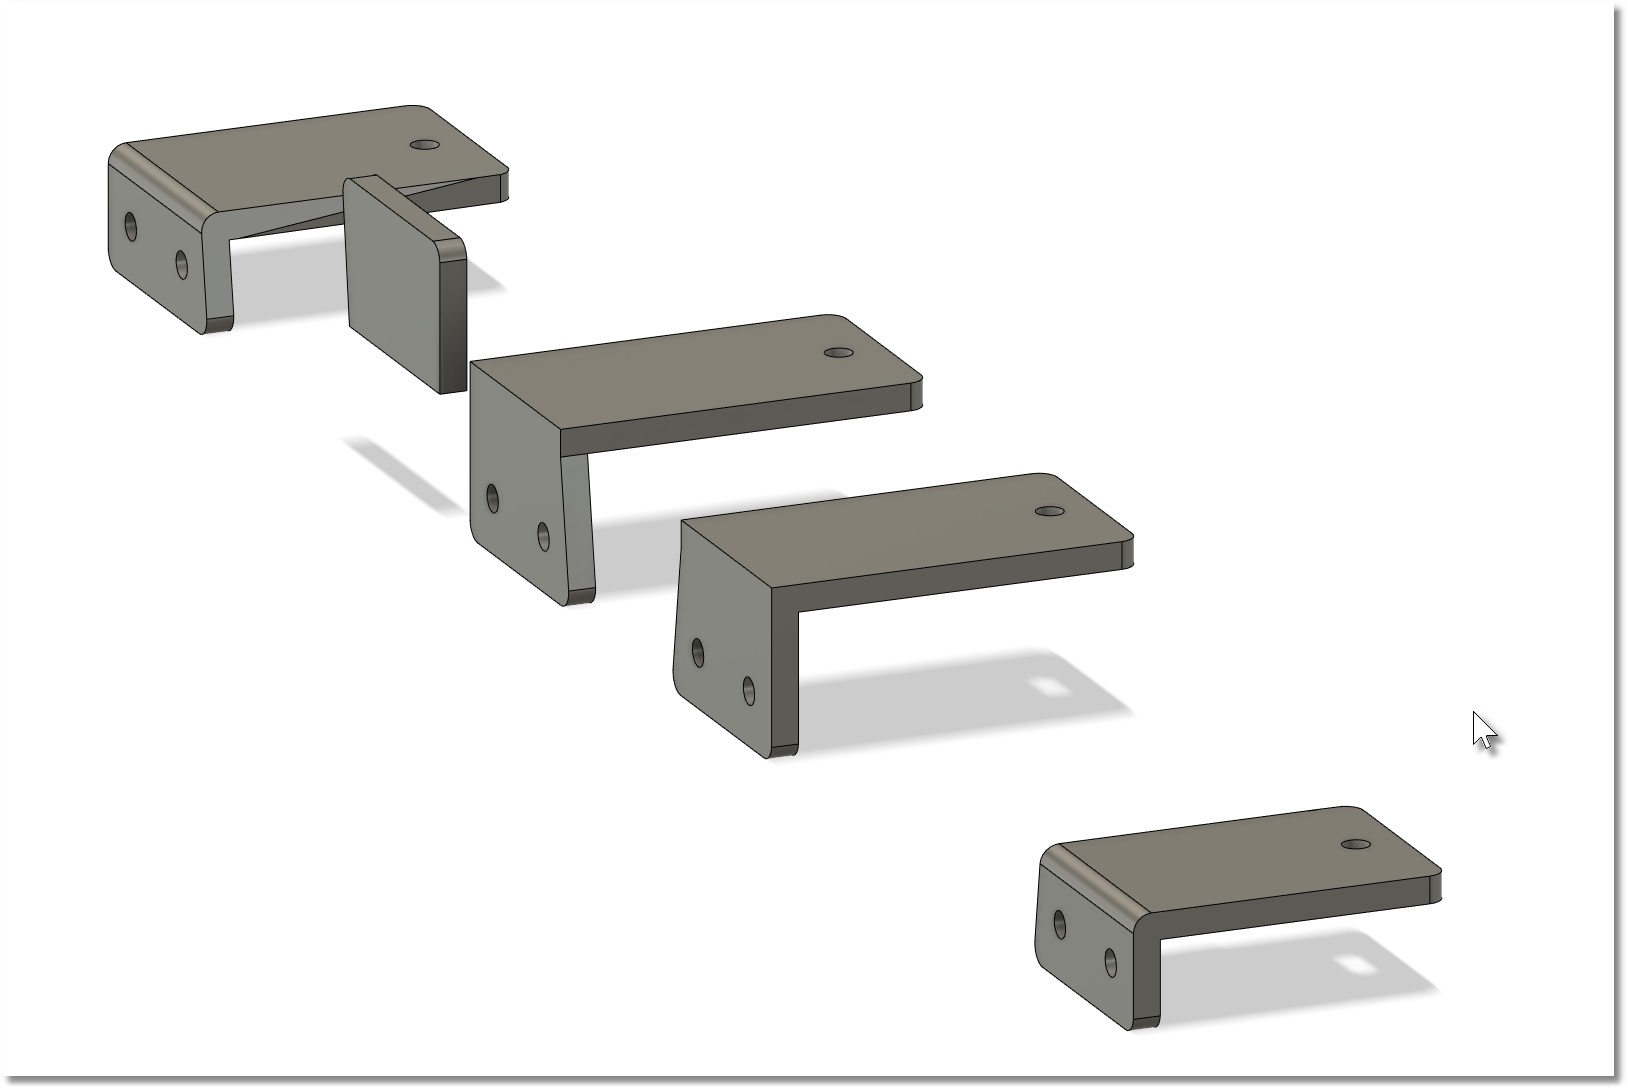
To make things simpler, I created some layout templates that can be used to layout the cut lines on the aluminum stock. To the right is an image of the brackets / shims taken from my CAD software. The actual printed parts don’t show quite as well.
There are left and right versions of the bracket. The smaller brackets nest inside the angle stock if you want to trace cut lines there. The larger brackets nest on the outside of the angle stock that is where you want your cut lines. Either set will work – simply trace the outline and cut.
There are a number of 1/8 and 3/16 holes that need to be drilled. The brackets can be used as drill guides as well. As the template material is soft compared to the aluminum stock, they were designed to be used with the “F” drill bushing that comes with the fuse kit. Insert the “F” bushing in one of the holes and then drill #30 into the stock. Be sure to securely clamp the template to the stock. After match drilling 1/8″, you can open the holes in the bracket bases to 3/16″ as per the plans.
If you look ahead to Section 11-4 (Empennage Attach) you will see how the attach brackets (now on horizontal stab) are match drilled (#12) into the shims and the tail cone. If you want, you can simplify things by match drilling #30 from the attach bracket bases into the shims. Then you would match drill the #30 holes in the bracket bases and shims to 3/16″.That way when you are match drilling the brackets and shims into the tail cone, you are only opening up these holes slightly and there is less chance the shims will shift when drilling into the tail cone.